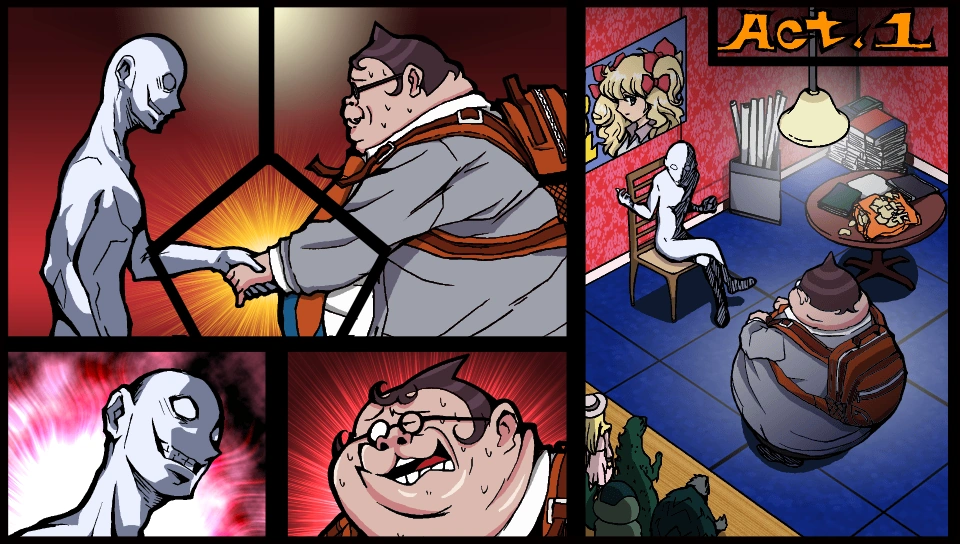
Before anything, the killer persuaded someone to help carry out the murder. And that person was... ...Hifumi. With an accomplice, the killer was able to execute a number of otherwise impossible schemes.
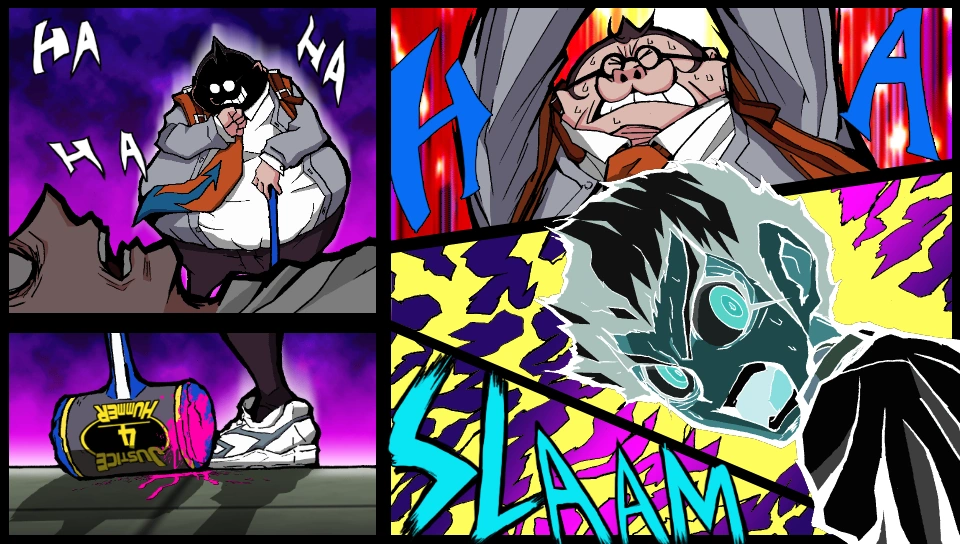
First, they convinced someone to meet them in the rec room last night at one in the morning. That "someone" they met with was Hiro. The murderous duo intended to pass Hiro off as the prime suspect. So when they met up with him...
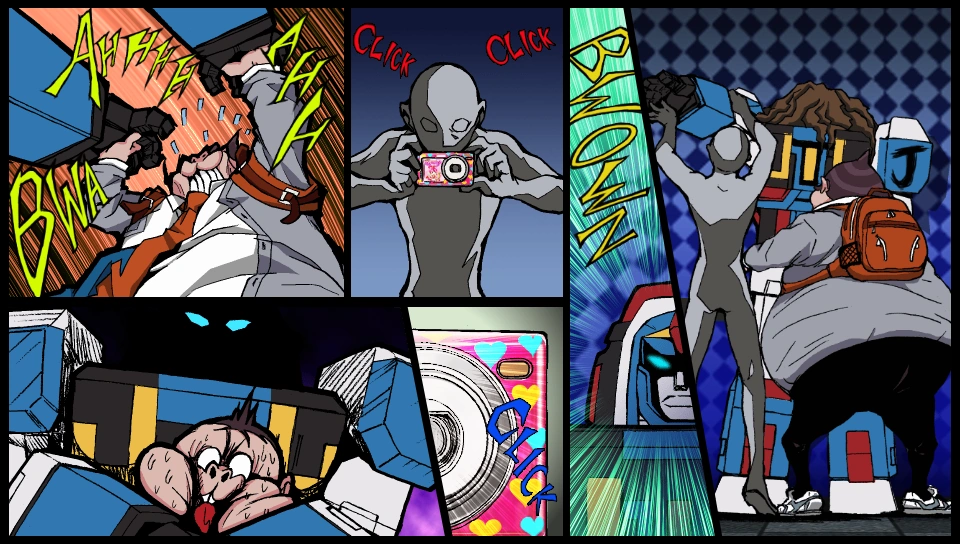
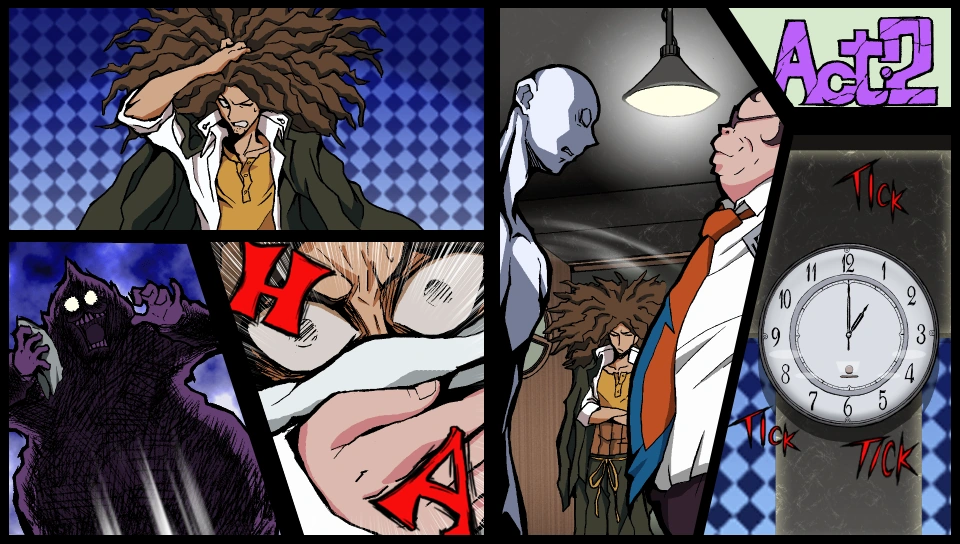
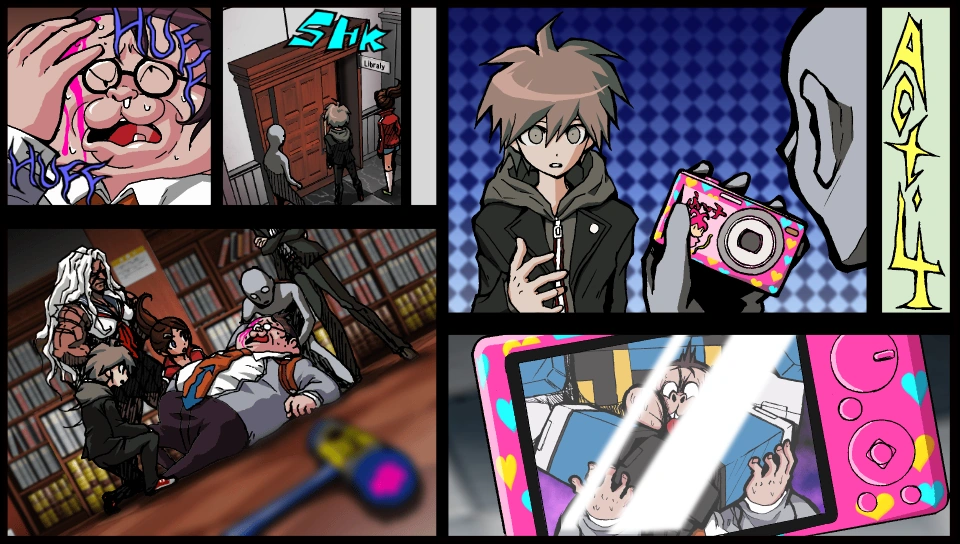
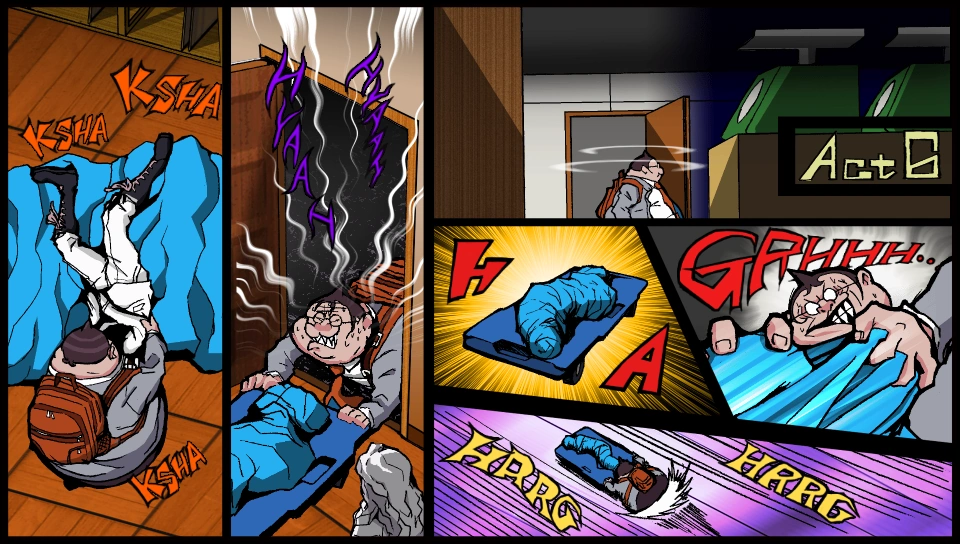
They drugged him, knocked him out, and stuffed him into the Robo Justice suit. Next, Hifumi positioned himself to make it look like Robo Justice was attacking him... ...while the killer used a digital camera to take pictures of the "assault." They did all this just to create evidence that would put the suspicion on Hiro. When they were done with him, they shoved him, still unconscious, into the pool room locker.
And then finally, at 6 a.m., they moved into the "murder" phase of their plan. They called Taka to the equipment room.
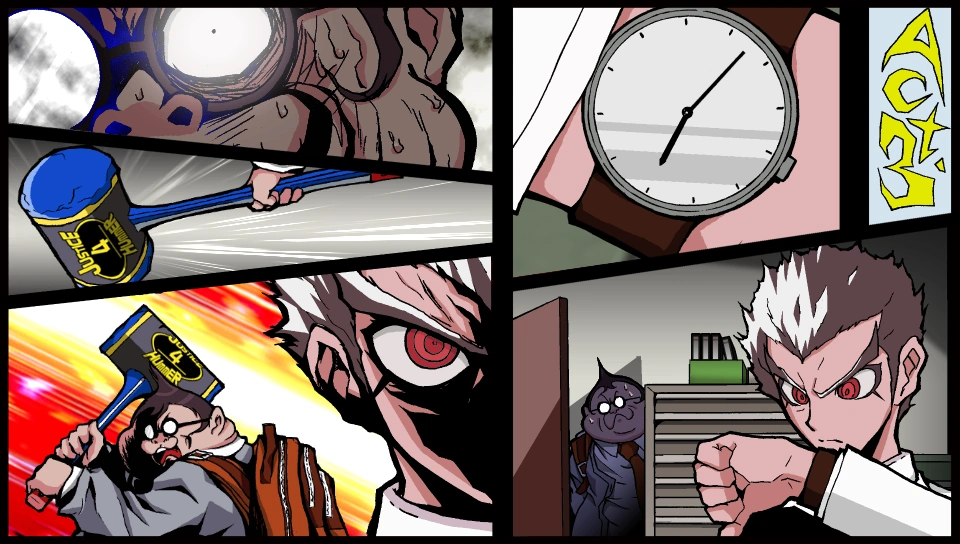
And that's where Hifumi killed him, making it the scene of the first murder. The murder weapon was "Justice Hammer 4," which was left there in the equipment room. The reason hammer number 4 was used was to create confusion about the order of the crimes.
So, next they falsified two more assault incidents. For these attacks, the killers pretended to be the victims, to solidify Robo Justice as the suspect... The first fake incident was the attack in the rec room. There, the killers wanted us to see Justice Hammer 1 and the Robo Justice pictures they'd taken. They wanted to make sure we bought the "surprise attack" story. The second fake incident was the attack in the library. This time, they planted Justice Hammer 2 and an "injured" Hifumi to sell us that story. With these two incidents, the killers were able to create a certain preconception in our minds... That the suspect was increasing the size of the hammers and attacking people in order as they did. We fell right into their trap and started looking for the suspect based on that, but...
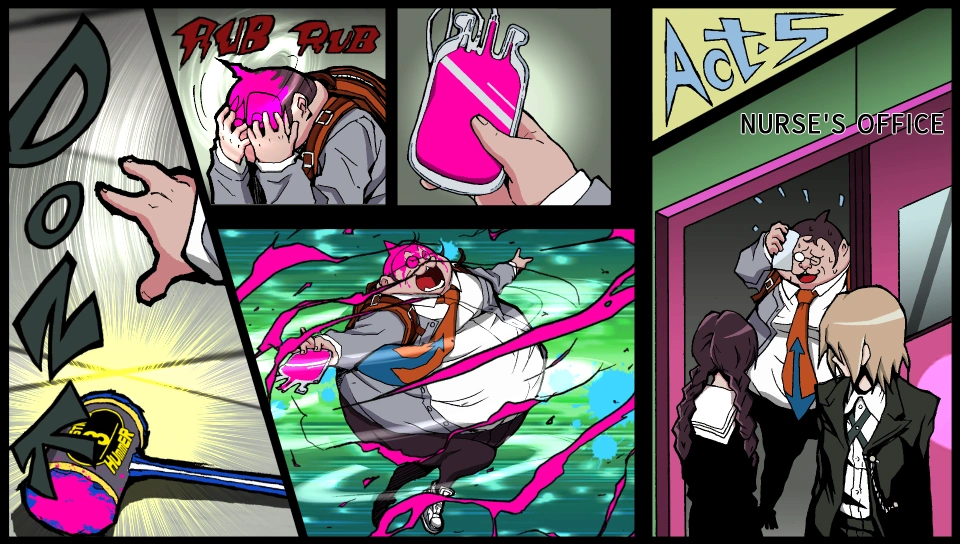
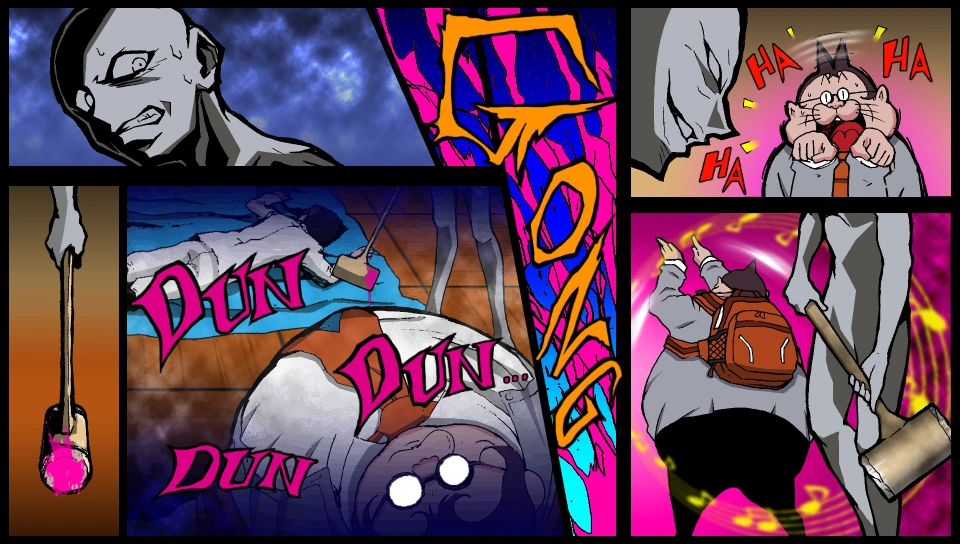
..while we did that, we left Hifumi alone in the nurse's office. This was exactly what Hifumi was hoping for. He took a blood packet from the refrigerator and Justice Hammer 3... ...and turned the room into a crime scene, in which he himself had apparently been brutally murdered.
He let out a scream to draw us back, and when we returned, that's what we found. Meanwhile, the other group that had been out searching found Taka's body at the same time. So when we heard the body discovery announcement, we naturally assumed it was for Hifumi.
We left the nurse's office, and Hifumi once again took advantage of the situation. He simply got up and made his escape... When we learned his body had disappeared, we all rushed back to the nurse's office. And once again, Hifumi had the chance he was waiting for. This time, he snuck into the equipment room... He wrapped Taka's body in a tarp and used the dolly to move it all the way down to the repository. That explains how each of the bodies disappeared.
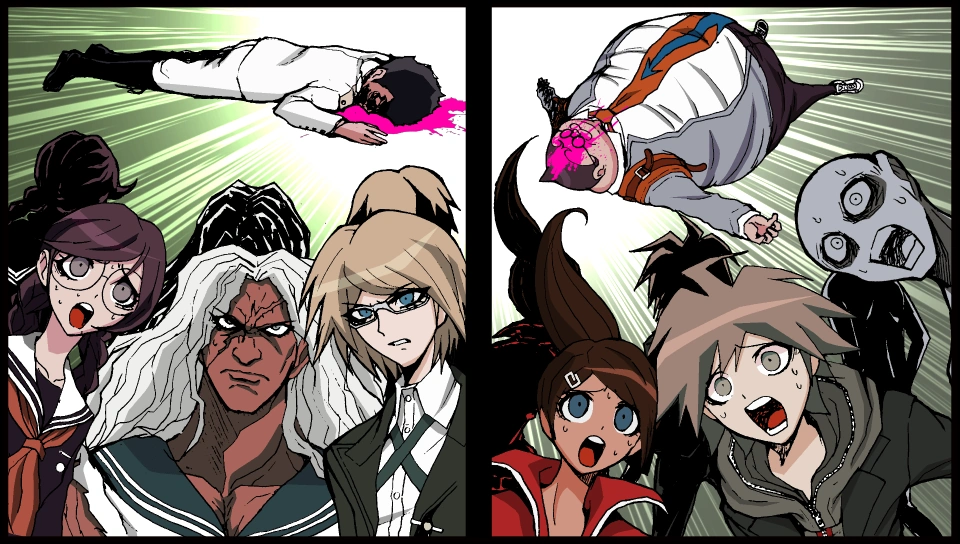
But even Hifumi didn't know what the true killer had in mind for their final act... Their plan all along was to kill Hifumi and get rid of the one person who could betray them. And they did it using an ordinary, everyday hammer from the repository. That should cover everything that happened in this case. And the villain behind it all is...
Celeste! Sorry, you lose!